Advanced Alerts
The Advanced Alert Builder allows users to configure alerts based on a host of additional criteria, including:
- The ability to set an advanced schedule for the alert job.
- Configuration of triggered launches; in this scenario, the alert job only runs when the given trigger(s) is met.
- Full distribution options, enabling role and user-based distribution of the alert to other users.
Advanced Alert Builder
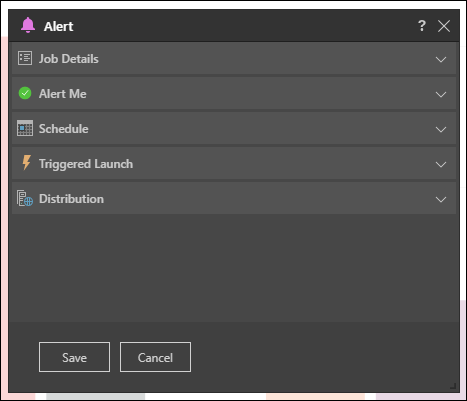
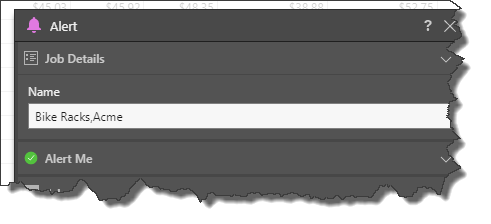
Job Details
This section displays the name of the alert. By default, this is named according to the member element captions of the given data point, but you can change it by entering the required alert name in the Name field.
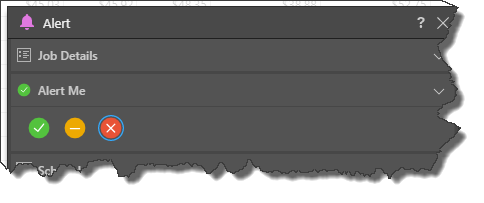
Alert Me
Select the icon that should be displayed in the alert. For instance, if the alert is configured to let you know if sales decreased, then you would select the red x.
Schedule
Set the schedule according to which the alert job will run.
Once
Choose this option to run the alert job once, either immediately (Now) or at a specified time (Delayed).
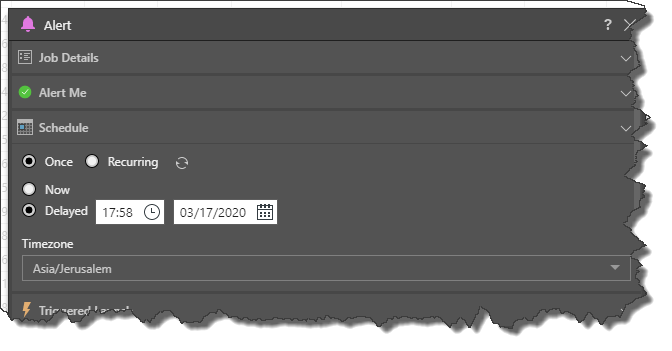
Recurring
Choose this option to run the alert job on a recurring basis, whether hourly, daily, weekly, or monthly.
- To learn more about setting the schedule, click here.

On Demand
On Demand Schedules are used to trigger the rendering of specified publications, alerts, and subscriptions when the underlying data model is reprocessed, or via an API call.
To configure on demand scheduling for the subscriptions, choose On Demand from the Schedule tab, either from the regular settings or the advanced settings. You must also configure on demand subscriptions for the relevant data models via the Master Flow or APIs.

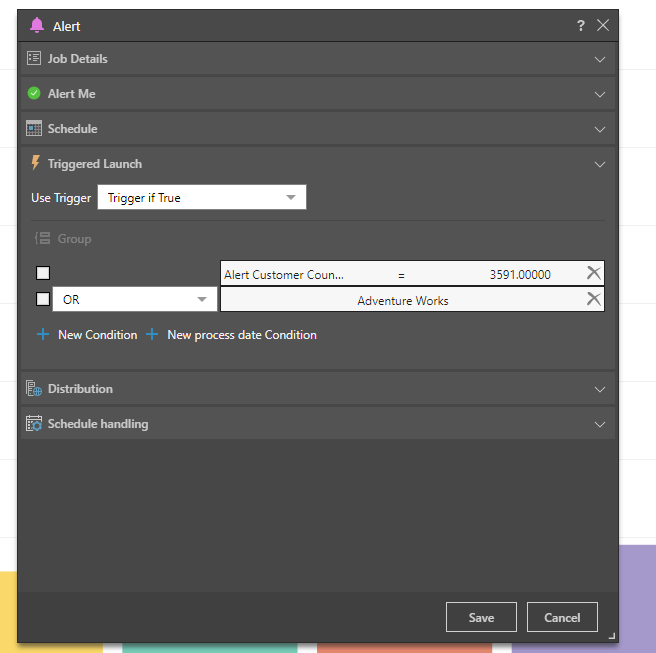
Triggered Launch
Configure conditions that will trigger the alert job to run based on the defined schedule. To build a trigger condition, click 'New Condition'; this will launch the 'Create Condition' dialog, where you can create a trigger using the Dynamic and Common PQL functions. The trigger formula can even incorporate the Chat GPT PQL function.
You can also configure a model-refresh condition to trigger the alert when the underlying data model is refreshed.
- Click here for details on configuring a triggered launch.
- Click here to learn about model-refresh conditions.
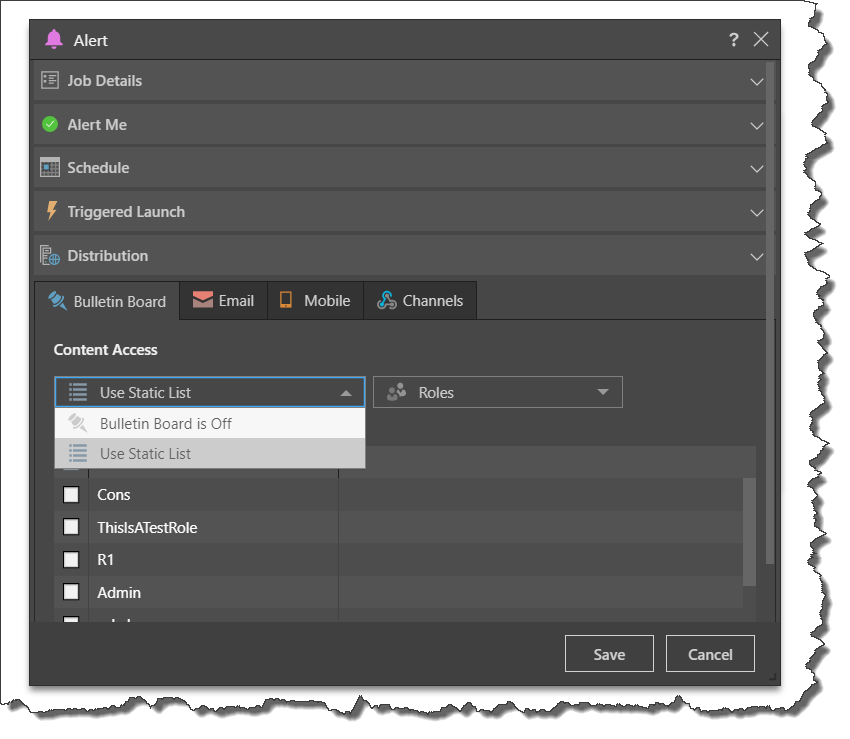
Distribution
Select your distribution preferences to determine who will receive an alert:
- Bulletin Board: distribute alerts to a static list of roles or users via the Bulletin Board.
- Email: distribute email alerts to a static list of email addresses.
- Phone Messaging: distribute alerts to specified users via SMS.
- Channel Webhook: distribute alerts to a given channel Webhook.
- Click here for more information about configuring distribution for advanced alerts.
NOTE: email distribution is available only if messaging services have been enabled in the admin console first.
- For a detailed look at how to configure a triggered launch, click here.
Schedule Handling
- Schedule Timeout: disables the schedule task after the given amount of time. The system default is 4 hours.
- Disable Schedule after Consecutive Failures: the maximum number of consecutive failures allowed before disabling the schedule. The system default is 3 failures.
- Time to Keep the Published Output: sets the amount of time to keep rendered content including printing, publications, and subscriptions. The time set here can not be greater than the overriding time set by the administrator in the system schedule.